I was that teenager with horrible skin that did everything she could to dry out her acne with Clean & Clear, those alcohol wipes, and spot treatments. I tried it all.
Yep, even all the infomercial products. *shiver* Gosh, they are amazing marketing machines, aren’t they?
All I got was super red, dry, irritated skin. I wish I could hug that girl and tell her what I know now. All those soaps and toxic ingredients were never going to give me smooth, beautiful, clear skin.
You can’t dry up acne. You have to heal it.
Oil cleansing was the addition to my skincare routine that saved my skin and now that I am in my 40s, I am so grateful that I have this tool in my toolbox. Don’t worry – I’ll share my exact skincare routine so you don’t have to search through YouTube like I did!
DITCHING THE TOXINS
The ingredient lists found in most mainstream skincare that you can buy off store shelves (ahem… or infomercials!) reads like my list of toxins to avoid. Your skin is your biggest organ, and all those toxins are being absorbed by your skin and right into your bloodstream. The ingredients you’ll find range anywhere from skin sensitizers, carcinogens, and formaldehyde releases to hormone disruptors that are wreaking havoc on our hormones. Which, you guessed it, leads to more breakouts.
Today, I want to share my cleansing routine with you, something that’s entirely different from my past methods of scrubbing and covering my skin in chemicals. This is what has gotten me the clear skin my teenage self longed for.
WHAT IS OIL CLEANSING?
If you have oily skin, you’ve probably been told to avoid oil-based products and to focus on products that remove the oils from your skin. This is actually a misconception about clearing up acne.
Think of it like this: Like dissolves like. Harsher cleansers and products strip the skin of the oil it needs, which makes it produce MORE oil. You’ll get stuck in a cycle of harsh washing followed by more oil production.
But, what if I told you there was a better way?
A simple, all-natural, gentle way to care for your skin and stop the cycle for good?
Oil cleansing is the best way to cleanse and nourish the skin while protecting its natural moisture barrier. It works for all skin types, even my oily sisters out there!
Naturally healing oils like jojoba oil, rosehip, avocado oil, pomegranate seed oil, are exactly what your thirsty skin wants. Nothing toxic… Just pure, safe, nourishing oils.
If the disappearance of acne isn’t enough to tempt you to try oil cleansing, here are some other benefits you could experience:
-
Remove makeup and dead skin
-
Clean clogged pores
-
Remove excess oils your skin naturally produces
-
Reduced inflammation
-
Better skin hydration and nourishment
-
GLOWING SKIN!
I’m telling you – you have to see it to believe it! I know it sounds crazy to mix an oil cleanser with oily skin, but it works. Try it for a few weeks and see the difference it makes.
I was a little confused when I first started and had to watch a few YouTube tutorials, so let me save you the time and share my exact oil cleansing routine.
STEP 1: MASSAGE YOUR OIL CLEANSER IN TO YOUR SKIN
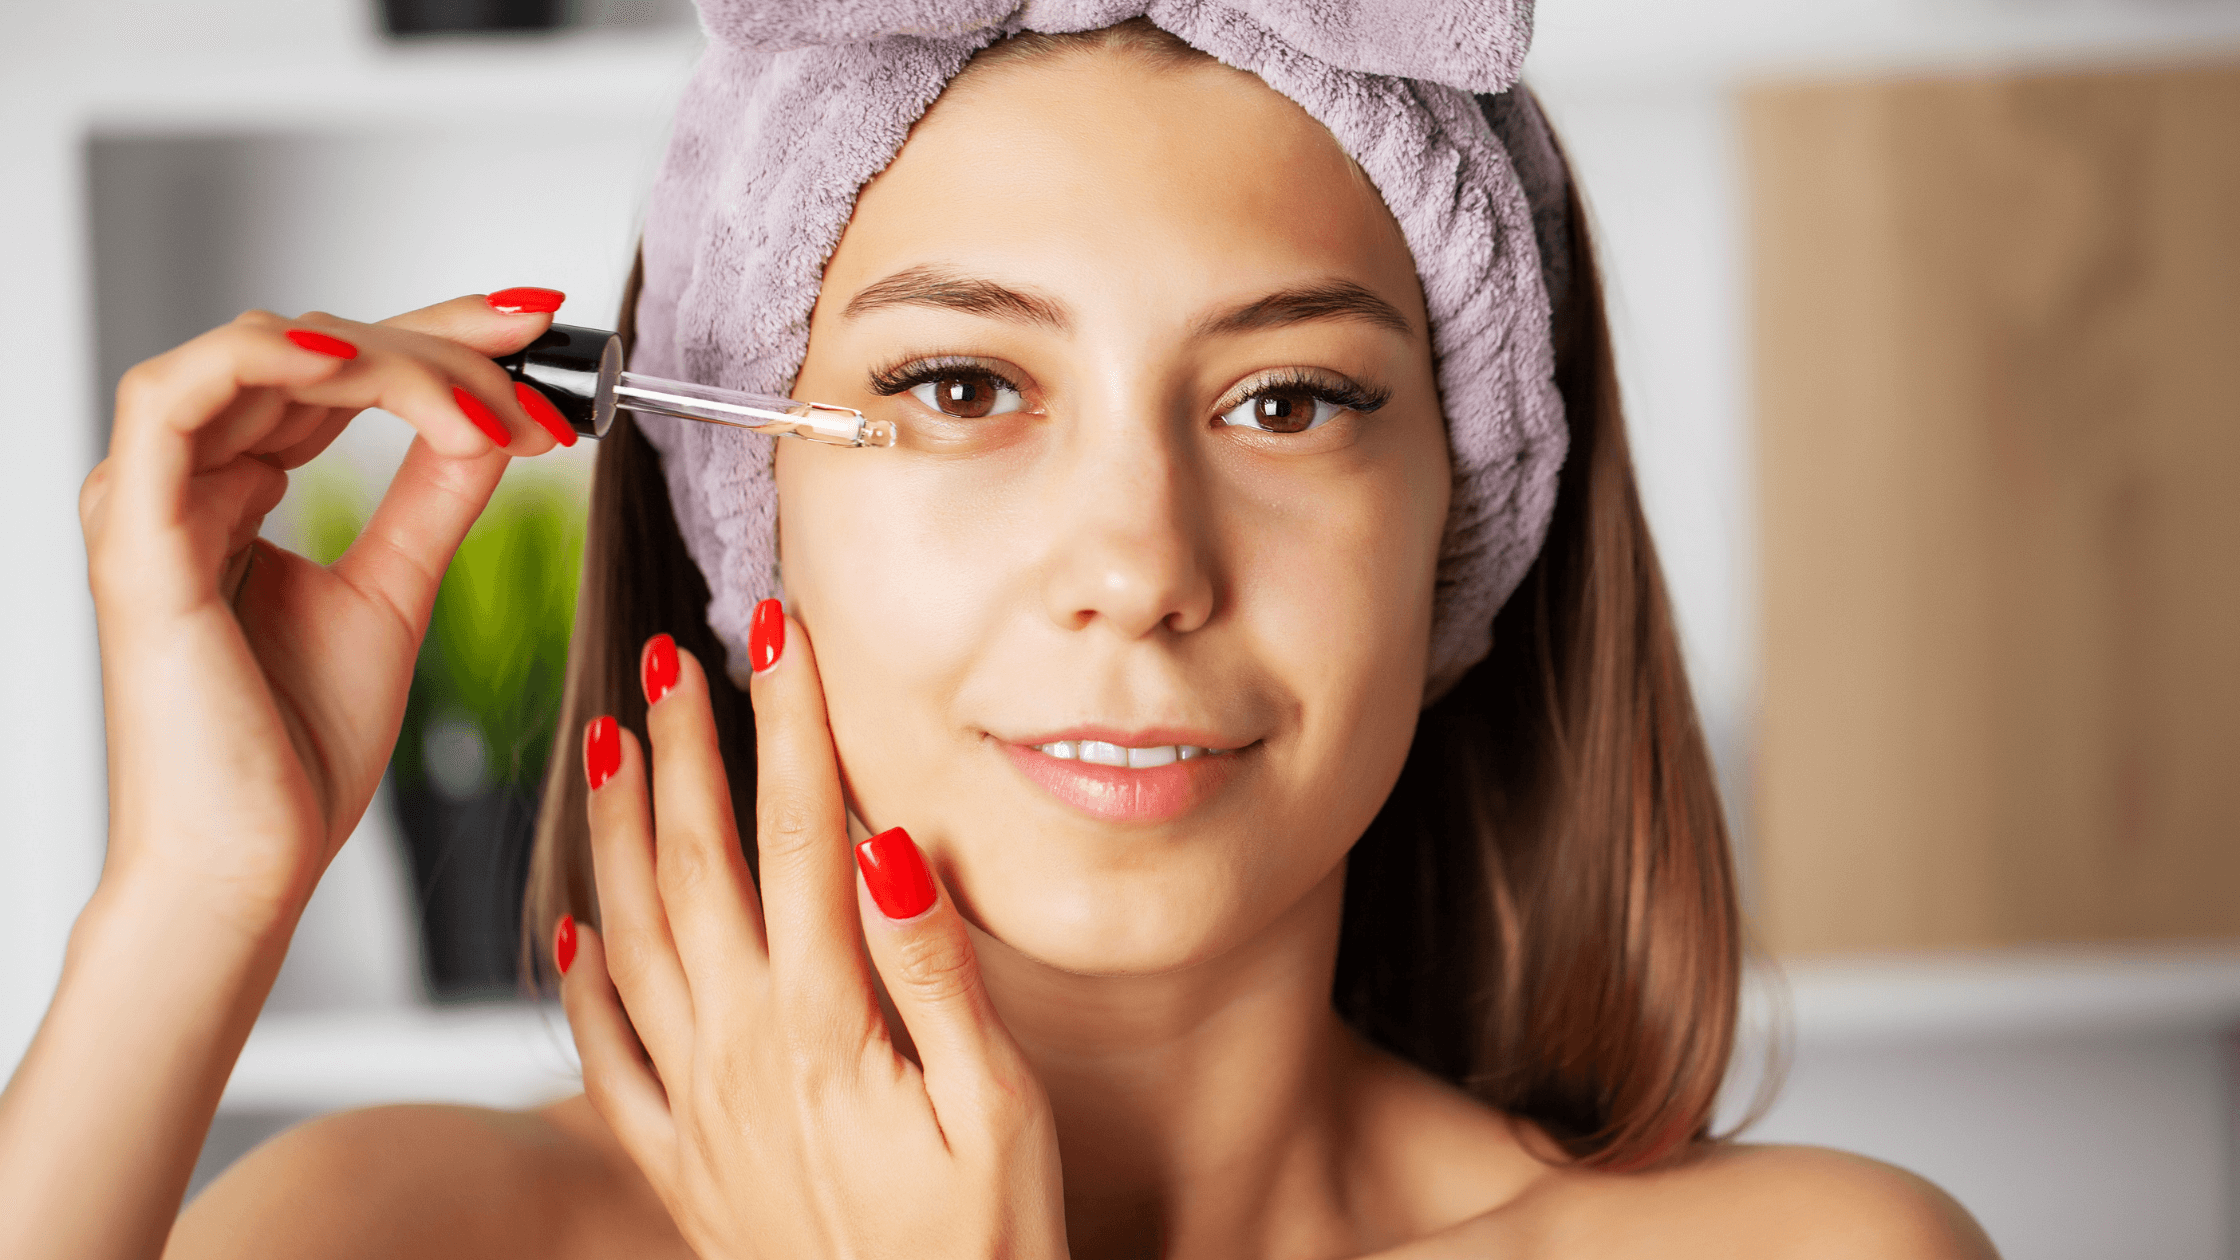
Take a dropper full of oil, pour it into your palms, and start to massage it into your skin. You can put the oil directly onto your face with your makeup on.
There is NO need to use a makeup remover first. Most makeup removers have oil in them, which is why oil cleansing can also be used to remove makeup. Oil cleaning can basically eliminate the need for another product from your budget and an entire step in your current skincare routine! Cool, right?
I start in the middle and massage upward and outward. I always make sure to get my neck area, as well. Facial massage is important because it helps increase blood flow, helps you relax your facial muscles, and can help your products absorb better.
STEP 2: USE A HOT WASHCLOTH
This is seriously the best part of my morning. It will make you feel like you’re at the spa. If you had makeup on, you might want to have two washcloths ready to use! The first one will be used to help remove the oil along with all of your makeup, so just get a makeup-friendly washcloth. Rest a hot washcloth on your face, wait until it cools, then wipe the oil away.
This step removes makeup and dirt and is a far gentler way to cleanse than stripping your oils using a traditional makeup remover! After you’ve removed all makeup, you can go over your skin with a clean washcloth if you feel you need to. You can also double oil cleanse if you feel like your skin needs extra cleaning. I recommend this if you’re wearing heavy makeup! Just use a clean washcloth for the second round.
STEP 3: FOLLOW UP WITH MORE OILS
My skincare follow up routine is 100% oils during the warm months. I don’t use cream based moisturizers, I stick with nourishing oils like jojoba and avocado oil, essential oils for glowing skin and now that I am in my 40s, Bakuchiol is my secret weapon for fighting wrinkles and other signs of aging and is known as nature’s retinol. You can read more about my favorite face serums as well as my personal DIY Mega Glow Serum in this blog post. Making your own face serum saves you loads of money, allows you can control the ingredients being used and is MUCH easier than you think. It’s seriously a game-changer.
CHOOSING AN OIL CLEANSER
If you aren’t someone who loves to DIY and you want to purchase a ready made oil cleanser that is perfect for your skin, then I highlight recommend Primally Pure for beginners. Their oil cleansers are simple and straightforward and they use quality, simple, organic ingredients. I also recommend that if you are new to oil cleansing, start with a double cleanse as you get used to it, allowing your skin to adjust to no longer being stripped of it’s protective layer. Double cleansing just means that you are starting with an oil cleanser and following up with a mild goat milk soap.
READY TO MAKE YOUR OWN?
There is no one size fits all when it come to oil cleansing. Using an oil that isn’t compatible with your skin type (i.e., using a heavier oil like olive oil when you have acne-prone skin) can clog pores and lead to further breakouts or irritation.
Your oil cleansers work best when you have two or more oils working together. You want a base oil that will make up the majority of your blend and a secondary oil that has either astringent or nourishing properties depending on your skin type.
Because everyone’s skin is different, it will take some trial-and-error to see what your skin likes best. After years of trial and error and helping hundreds of women make their own oil cleansers, these are my recommendations to start with.
CHOOSING YOUR BASE OIL
-
For all skin types and for normal skin, jojoba is universally my favorite base oil. Sunflower seed oil is also a great option.
-
If you have oily or acne-prone skin, jojoba is also my top pick here, but grape seed or sweet almond oil are both good choices because they are are lighter and less likely to clog your pores.
-
If you have dry or mature skin, try avocado, argan or pumpkin seed oil, which are rich and super nourishing.
CHOOSING YOUR SECONDARY OIL
-
For all skin types and normal skin, argan oil is a great choice because it’s high in vitamin E, which acts as an antioxidant to protect against environmental damage.
-
If you have oily or acne-prone skin, you’ll want to choose an astringent oil like hemp seed or pomegranate oil, but rosehip oil can help quell inflammation and is a great option for those with cystic acne or other skin irritations.
-
If you have dry or mature skin, I prefer rosehip oil as well, but almond oil or marula oil, which are higher in fatty acids and can help nourish dry skin.
TESTING YOUR OIL CLEANSER
The best part of DIYing is that you get to tweak your recipe to find what works perfectly for YOUR skin. Rather than make a whole batch just to find out that you want to make some adjustments, start with a test batch. Start by taking 1 teaspoon of your base or carrier oil to 3 teaspoons or your secondary oil.
Monitor your skin over the next few days and if your skin consistently feels tight after your cleansing routine, reduce the amount of secondary oil (particularly if you’re using an astringent option) or increase the amount of base oil in your blend. If your skin is feeling excessively slick, add a little more astringent oil. Tweak it until your skin just feels GOOD.
Once you have found the perfect ratio of base oil to secondary oil, just increase amounts and put your mixture in to a dropper bottle or a pumper bottle. I always follow up my skin cleansing routing with my Mega Glow Serum and my skin has never looked more radiant.
THE WRAP UP
To to sum it up, yes, you should try oil cleansing. It’s great for any and all skin types and will leave your skin nourished and acne-free. It’s always the first thing I recommend to people when they come to me with acne struggles or dull skin. Oil cleansing is a natural first step to detoxing your skincare and embracing a lower tox life.
Want to know what oil cleansers I recommend?
Check out my favorite toxin-free skincare lineup.
Dive Deeper with Wendy’s Toxin-Free Resources
Ready to dive deeper into your wellness journey? Whether you are at the very beginning or a seasoned toxin-free pro, I have resources that will meet you where you are.
- Join my insider email list to be the first to learn about new healthy living resources, blog posts, exclusive offerings, and discounts.
- Subscribe to the podcast for weekly episodes on living toxin-free.
- In the Toxin-Free Shopping Guide, you can find truly toxin-free products with ingredients you can trust—fully vetted by me and the very same brands that I bring into my home. Check out everything from my skincare, haircare, water filters, protein powders, electrolytes, and so much more!!
- Download this free guide on my top 25 toxins to avoid and how to spot them on labels.
- Get a deep-dive education on how toxins impact your health with Toxin Free in 3. When you become a student, you can access the full course, my private community, discounted 1:1 sessions, and live monthly Q&As with me!


+ show Comments
- Hide Comments